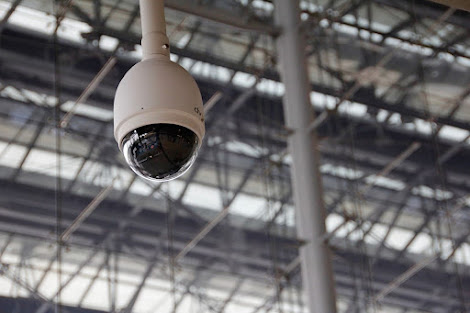
How do you add a microphone to your IP camera?
In today's world, security is a top priority for many homeowners and business owners alike. With the advancement of technology, it's easier than ever to keep an eye on your property and ensure its safety. One of the most popular ways to do this is with an IP camera, which allows you to monitor your property remotely via the Internet. However, while an IP camera is a great tool, it can be even more effective with the addition of a microphone.
A microphone can pick up audio and provide an extra layer of security, allowing you to hear what's happening and see it. In this step-by-step guide, we'll show you how to add a microphone to your IP camera, elevating your security to the next level. Whether you want to protect your home or business, this guide will provide all the necessary information. Let's dive in!
Installation Process
Adding a microphone to an IP camera is a relatively straightforward process. Follow these steps to ensure a successful installation:
Step 1: Choose the appropriate microphone: Select a microphone compatible with your IP camera model. Refer to the camera's user manual or contact the manufacturer for recommended microphone options.
Step 2: Locate the audio input port: Identify the audio input port on your IP camera. It is usually labelled as "Audio In" or "Mic In" and can be located on the camera's body or base station.
Step 3: Power off the IP camera: Before connecting the microphone, ensure that the IP camera is powered off to prevent any electrical mishaps.
Step 4: Connect the microphone: Plug the microphone's audio connector into the camera's audio input port. Make sure the connection is secure.
Step 5: Power on the IP camera: Turn on the IP camera and allow it to boot up. The camera should recognize the connected microphone.
Step 6: Adjust microphone settings: Access the camera's settings through the manufacturer's provided software or web interface. Navigate to the audio settings and configure the microphone input level, sensitivity, and other desired audio parameters.
Step 7: Test the microphone: To ensure the microphone is functioning correctly, perform a test recording. Speak into the microphone while monitoring the audio output. Adjust the settings if necessary to achieve optimal sound quality.
Step 8: Position the microphone: Place the microphone in an appropriate location to capture clear audio. Consider factors such as the monitored area, ambient noise levels, and potential obstructions.
Conclusion
Adding a microphone to your IP camera can provide additional security for your home or business. By allowing you to hear what's happening in addition to seeing it, a microphone can provide important context and help you identify potential threats before they become a problem. Consider sound quality, compatibility, and power source when choosing a microphone. Following the steps outlined in this guide and keeping best practices in mind, you can elevate your security and achieve greater peace of mind.
Are you looking for the best CCTV Camera Installation Bangalore?
We at “SayCure” provide the best CCTV camera installation and services.
Have any questions about the CCTV installation process?
Saycure’s expert team is here to solve all your queries.
♥ Do call 7695938051


Comments
Post a Comment